
Water Heater Flush: Drain the Sediment Before It Costs You a Tank
That rumble or popping sound when the burner kicks on is steam punching through a layer of mineral sediment on the bottom of the tank. The fix is a water heater flush: drain the tank, then stir the sediment bed with short bursts from the cold inlet until the hose runs clear. Plan on about two hours including the cool-down in step 2, most of it waiting; the tools are a garden hose and a screwdriver. Below: tools, safety rules, the drain-and-flush steps with checkpoints, plumber pricing, and when flushing is the wrong move.
Is a water heater flush actually necessary?
For most tanks, yes. Sediment sits between the heat source and the water, so the burner or lower element runs longer to reach the same temperature. The U.S. Energy Information Administration puts water heating at roughly 18% of what a typical household spends on energy, so every extra minute of burner time lands on the bill.
The sediment also traps heat against the steel under it, which shortens the life of a tank that Angi's 2026 planning data pegs at 8-12 years to begin with. DOE's Energy Saver guidance credits a maintained conventional tank with roughly 10-15 years; maintenance is most of the gap between those two ranges. An annual flush, paired with an anode rod check every 3-5 years, is how a tank reaches the top of the range instead of the bottom.
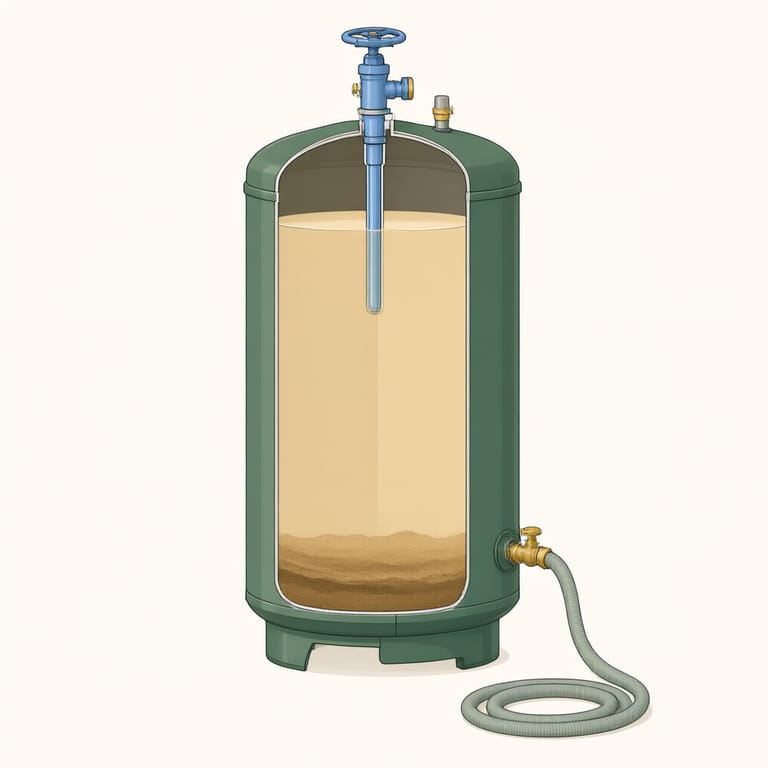
Signs your water heater needs flushing
- Popping, rumbling, or kettle-like noises while it heats: pockets trapped under the sediment are flashing to steam.
- Showers go lukewarm earlier than they used to, and the wait for hot water to return stretches out; sediment is taking up tank volume and blanketing the burner or element.
- Grit or cloudiness at a hot tap, or grit collecting in aerators and showerheads on the hot side only.
- Opening the valve at the bottom of the tank yields a trickle, not a stream: the sediment bed has climbed high enough to choke it.
A 10 year old water heater: leave it alone or flush it?
A tank past its tenth birthday that has never been drained deserves a pause. Ten years of packed sediment may be the only thing sealing pinhole rust spots in the floor, and it usually has the drain valve half blocked. Stir that bed up and a merely noisy heater can be dripping from the valve, or from the shell itself, by dinner. For a tank that old, run the numbers in our repair vs replace guide first. If you do proceed, pick a weekday morning, not the night before a holiday.
Can I flush my water heater myself? Tools and what it costs
For a tank under ten that has been drained before, yes. Everything required fits in one hand:
- A garden hose, measured to reach the nearest outlet: driveway, utility sink, sump pit, or floor drain
- A flathead screwdriver, since many drain valves have no handle, just a slot in the stem
- A bucket, for spot-checking what drains out
- Work gloves, because the hose and valve get as hot as the tank
- Optional: a brass hose cap, for a drain valve that weeps afterward
If you own a hose, your out-of-pocket cost is close to zero.
Ready to talk to a licensed water heater pro?
Call (800) 555-0184Free call. A licensed local water heater installer picks up.Licensed water heater partners in your area- Licensed and insured partner network
- 24/7 call routing
- Free call, no obligation
- You approve the price with the installer directly
What a plumber typically charges for flushing a water heater
Nationally, a professional flush lands in the $100-$350 tier that HomeGuide's 2026 repair data uses for flushes and other small fixes. How the two routes compare:
| Factor | DIY flush | Professional flush |
|---|---|---|
| Out-of-pocket cost | Close to zero with a hose you already own | $100-$350 nationally (HomeGuide 2026 repair data, small-fix tier) |
| Time | About 2 hours, most of it cool-down and draining | One appointment; you supply nothing |
| Included extras | None; you see only what drains out | Typically an anode rod look, a T&P valve test, and a leak check |
| Best for | Tanks under about 10 years old on a regular flush schedule | A first flush ever, tanks near end of life, or any tank already leaking or acting up |
Verdict: a maintained, middle-aged tank is a comfortable DIY. A neglected or elderly one is worth the service call; the person opening that valve should be able to fix what the sediment was hiding.
Before you open a single valve
- Kill the heat first. Electric tank: flip the heater's own breaker at the panel; an element that runs dry burns out in seconds. Gas tank: rotate the control knob to Pilot, or to Off only if you have relit one from the tank label before. Flipping the breaker is as far as DIY goes; anything inside the 240V wiring, the gas connection, or the T&P (temperature and pressure relief) valve itself is licensed-pro work.
- Respect the water temperature. A tank at 140F causes a full-thickness burn in about 6 seconds, per the Consumer Product Safety Commission's scald table, and even 120F is nothing to test by hand; cool the tank first (step 2).
- Gas rule, no exceptions. If you smell gas at any point, the job is over. Get everyone out of the building right away, touching no switches, flames, or phones on the way; once outdoors, phone 911, then the gas company's emergency line. Keep hands and hose off the vent pipe and draft hood above a gas tank; a displaced vent spills carbon monoxide indoors.
- Locate the cold supply valve now, on the line entering the top of the tank. Hunting for it once water is moving is how floors get wet.
How to drain and flush a water heater, step by step
- Turn off the heat (breaker off, or gas control to Pilot). 2 minutes.
- Cool the tank. Leave the heat off for several hours (overnight is the sure way), or run a hot tap until it comes out only warm, which pulls cold supply into the tank. 15-30 minutes at a tap, or overnight.
- Shut the cold supply at the valve you located earlier, on top of the tank. 1 minute.
- Thread the hose onto the drain valve, the spigot low on the tank, and route the far end to your outlet (floor drain, sump pit, or driveway). Keep that end below the valve; nothing but gravity is moving this water. 5 minutes.
- Open one hot faucet somewhere in the house. Air has to get in at the top for water to leave at the bottom; otherwise the tank holds a vacuum and the hose only dribbles.
- Start draining. Open the valve all the way and step back. Checkpoint: catch a cup in the bucket every few minutes. Cloudy, gritty, or tea-colored means sediment is leaving, as intended. A full tank takes 30-60 minutes to empty.
- Churn and rinse. Leave the drain open and crack the cold supply for about 30 seconds at a time; each jet kicks sediment loose from the floor so it rides out the hose. Keep going until a bucket sample comes out clear. This rinse is what separates a water heater flush from merely draining the tank. 10-20 minutes.
- Fill it back up. Shut the drain valve, unscrew the hose, then turn the cold supply all the way on. Leave that hot faucet running until the sputtering stops, then close it. Checkpoint: a full tank sounds quiet; hissing or trickling means a valve is not seated. 15-30 minutes.
- Restore the heat, but only once the tank is confirmed full: breaker on, or gas control back to On and relight per the label.
- Check the valve for drips an hour later. A slow weep usually stops with a hose cap threaded on; a steady drip means replacement.
How often a tank water heater needs a flush
Once a year is the interval the industry plans around. On hard well water, or anywhere your kettle scales up fast, follow the shorter interval printed in the owner's manual. Put it on the same calendar entry as smoke-detector batteries, and check the anode rod every third or fourth flush.
When to stop mid-job and call a pro
- The drain valve will not close, or the plastic stem strips. You now have a controlled leak and need a valve swapped under pressure.
- Moisture is coming off the steel shell itself, at a seam or the bottom, not from a threaded fitting. That is the tank failing, and no flush fixes it. Go straight to repair vs replace.
- The water never runs clear after several rinse cycles; the sediment bed may be beyond a hose-and-gravity flush.
- The T&P relief valve starts dripping after refill and does not stop. Never cap or plug it; the drip is a pressure symptom, and ICC water heater safety guidance notes that capped relief valves have caused tank explosions.
Any of those, and the smart move is booking water heater repair rather than improvising. If you would rather have the whole thing done in one appointment (a water heater flush plus the anode check and valve test), call (800) 555-0184 and Embercrest will connect you with a licensed, insured local installer who quotes the visit straight.